Pages
Main Site
Tags
MUSIC 58
AUDIO 44
AUDIO HARDWARE 22
STUDIO 20
MIXING 16
MISCELLANEOUS 14
BABBLINGS 12
DRUMS 5
CURRENT EVENTS 1
MASTERING 1
VOICE-OVERS 1
GENERAL INSANITY 1
RSS Feed
Tue - Aug 17, 2010 : 12:13 am
excited
| rated 0 times |
New Studio Acoustics!
Okay... So, since I began this journey of becoming a better recording engineer, I knew there was a lot to learn. I have a degree in Digital Media with an emphasis on audio recording, and thanks to a great teacher, Mike Wizland, I quickly began to get a good grasp on the basics.
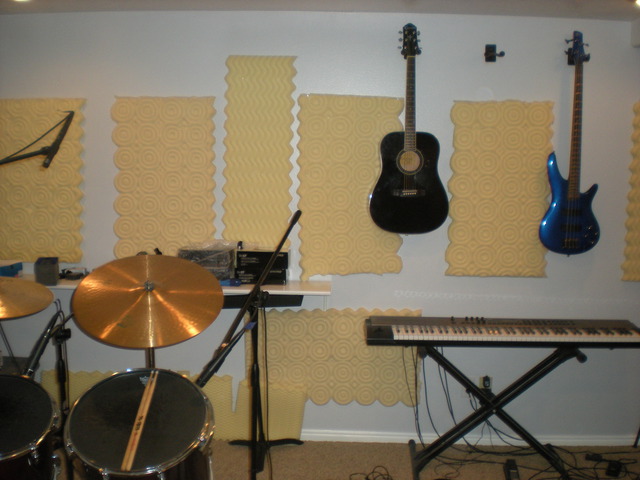
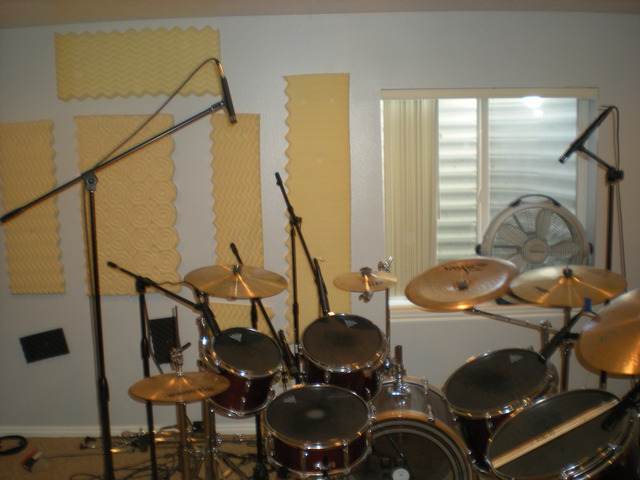
The early success of the studio has enabled me to get a few great microphones, guitars, amps, preamps, good drum heads, an amazing digital audio workstation and few other odds 'n' ends. As soon as I had the basics of good equipment, I took a look at my existing room acoustics, and, though my thin foam tacked on to the walls was definitely doing a much better job than expected, I knew I needed to get my studio sounding better.
The more research I did into studio acoustics, the darker the picture became. I looked at all sorts of acoustic treatment, and to be frank, I couldn't understand why in the world it was so expensive! It didn't seem to be all that complicated to fabricate the product, nor is the material used terribly expensive. It just didn't make sense.
So, as usual, I started to do some research. After a long battle between myself and the information I was receiving, I decided that $1,200.00 was a bit too much to be spending on room acoustics. I mean, wow... Think of the audio equipment that could be bought for that price! Sooo... I started reading how-to tutorials online, and found there was a few good places with good information, and I started taking notes.
Within a few weeks, I had what I needed, and last weekend, I took the plunge, bought the materials, and by Monday morning, I had a completely new sound in my studio, ready for the evening's session.
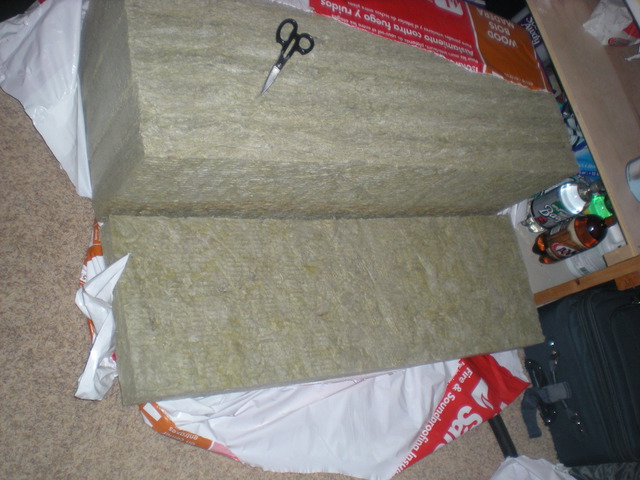
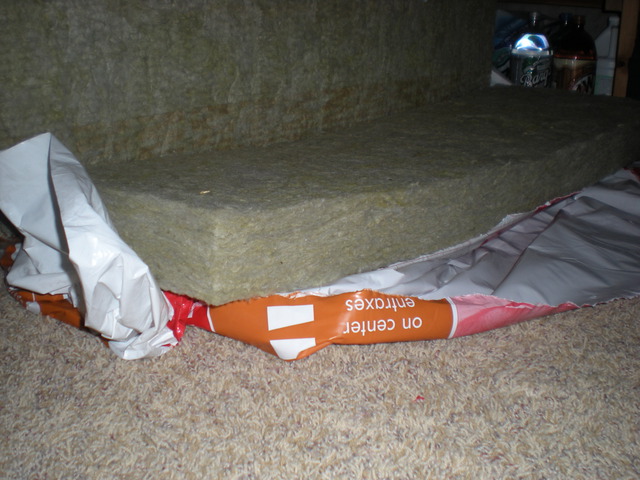
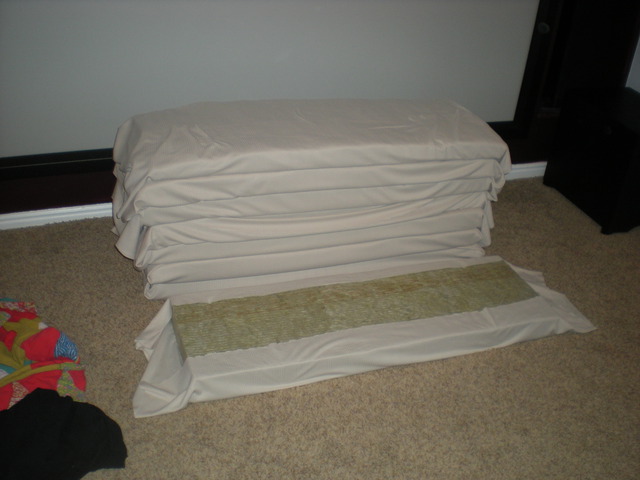
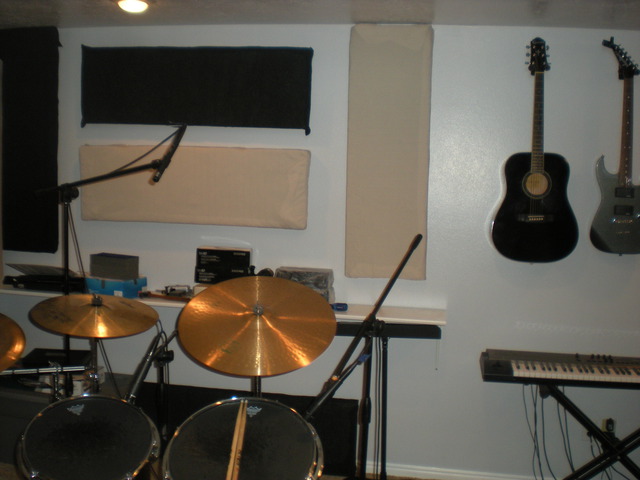
The material I chose to use is a product called “Roxul Safe 'n' Sound” This product came in bags full of 12 3-inch deep, 4”x6” bats. My studio is 13' x 15' x 8' (8 feet high), and so I bought two of these bags, thus giving me 24 bats to work with. Working with these bats, they look like a very dense variant of normal fiberglass insulation, but this stuff isn't nasty. You can breathe it, and even roll around in it, should you choose to do so, and it won't cut, or do anything else damaging. It does come apart, should you pull on it, so ya gotta be careful not to let that happen, but that's about it. The stuff traps sound like crazy, too. If sound absorption is what you need, read on, because these things are amazingly absorbent.
Oh, and did I mention that I got the 24 bats (which will cover 120 sq-ft) for $106.00? Yeah, true story... I have the receipts to prove it.
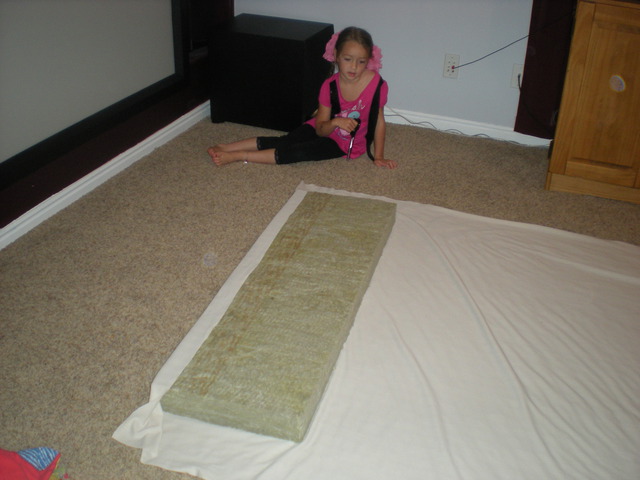
So... I had bags full of the material, now what to do with them? Well, I decided to visit my local Walmart, and see what type of fabrics they had. I couldn't wait for the incredible deals I've read about on fabric, so I chose two colors of their cheap “5 yards for 5 bucks” bin, and got 6 rolls of grey and black fabric.
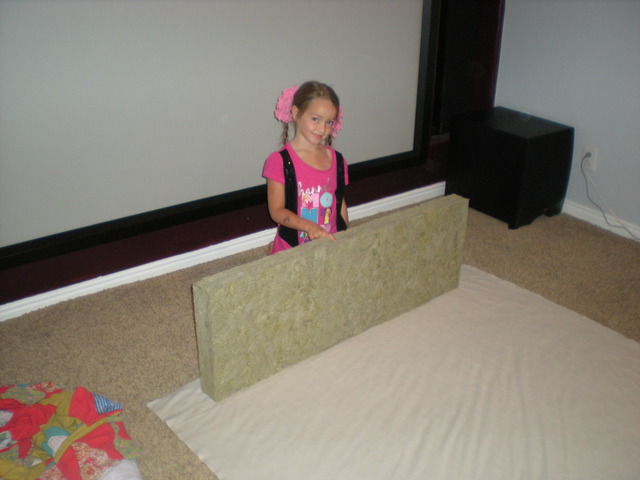
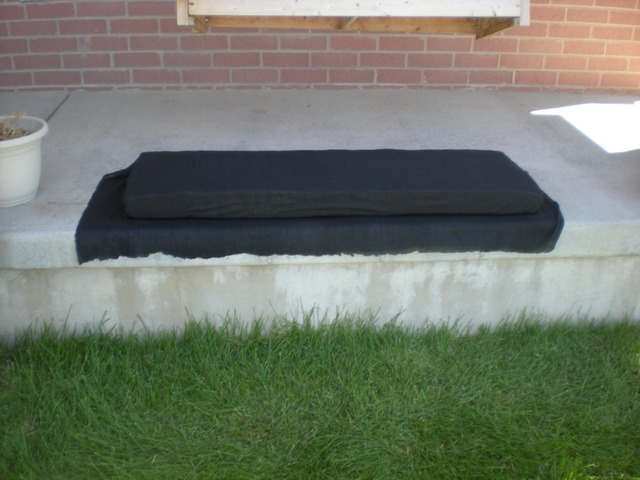
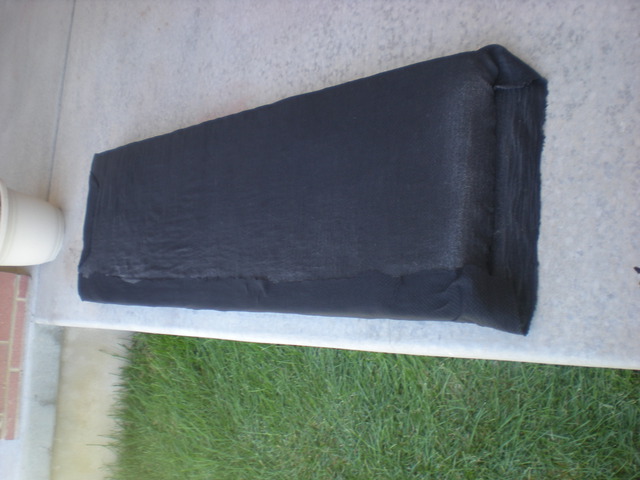
I then went home, got a pair of good scissors, and started cutting and rolling. It took me about 6 hours to get it all done, but I was listening to and watching a Jason Mraz concert, so the time flew by.
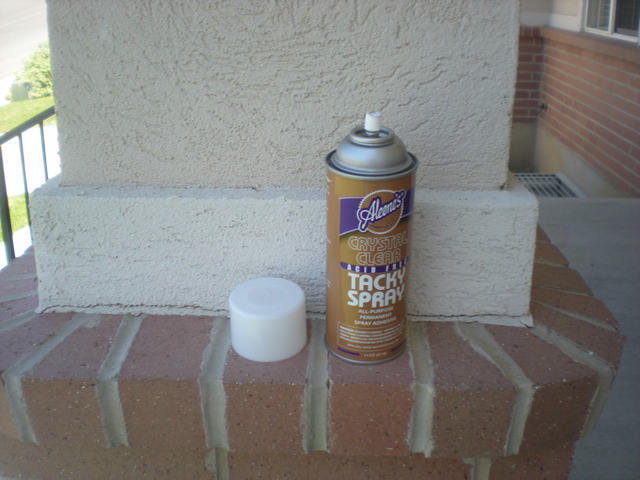
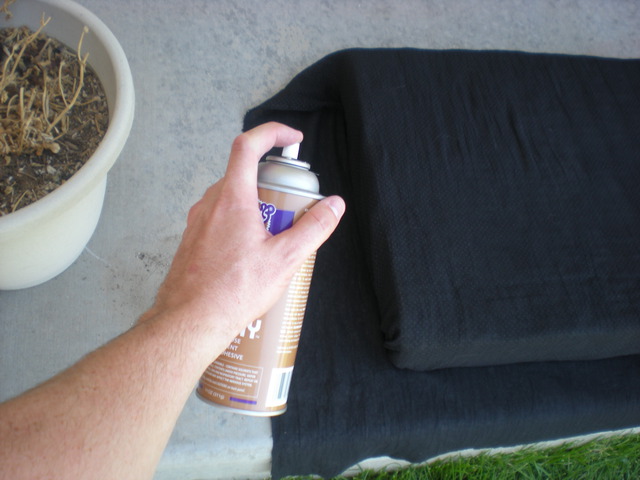
The next day, I went and bought a single can of spray-on adhesive, and went to town gluing the fabric to the already rolled-up bats. I then stored them in my basement storage rooms to dry for the night.
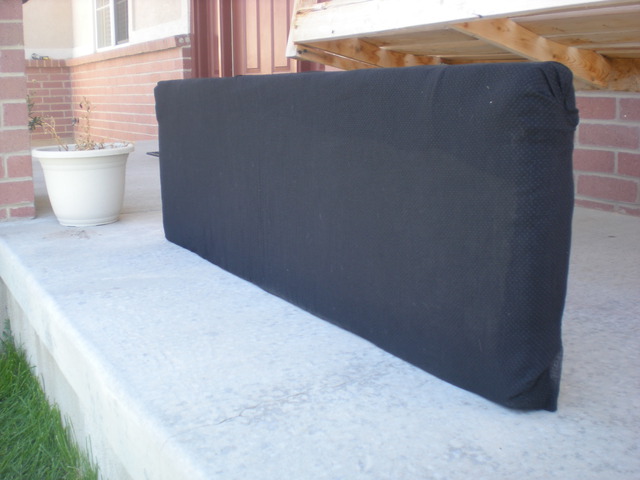
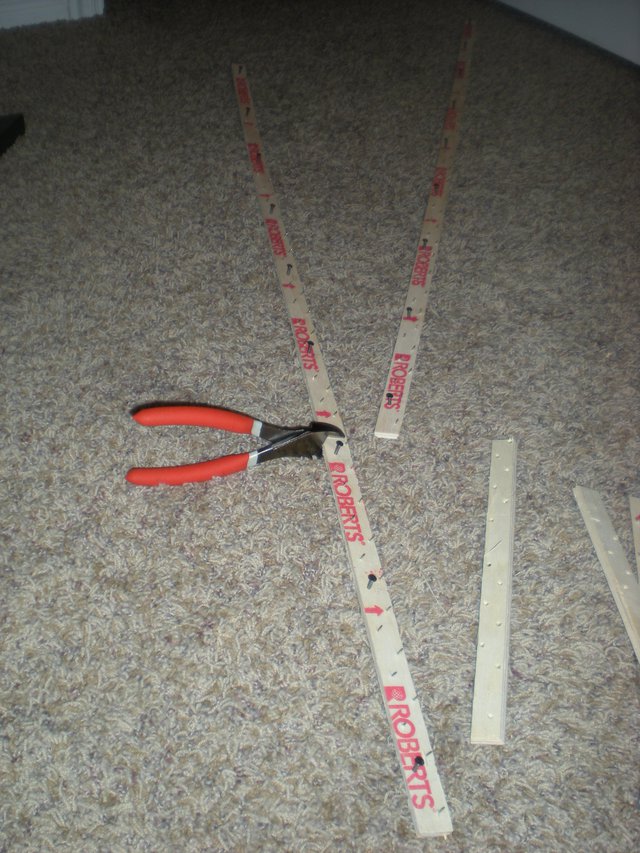
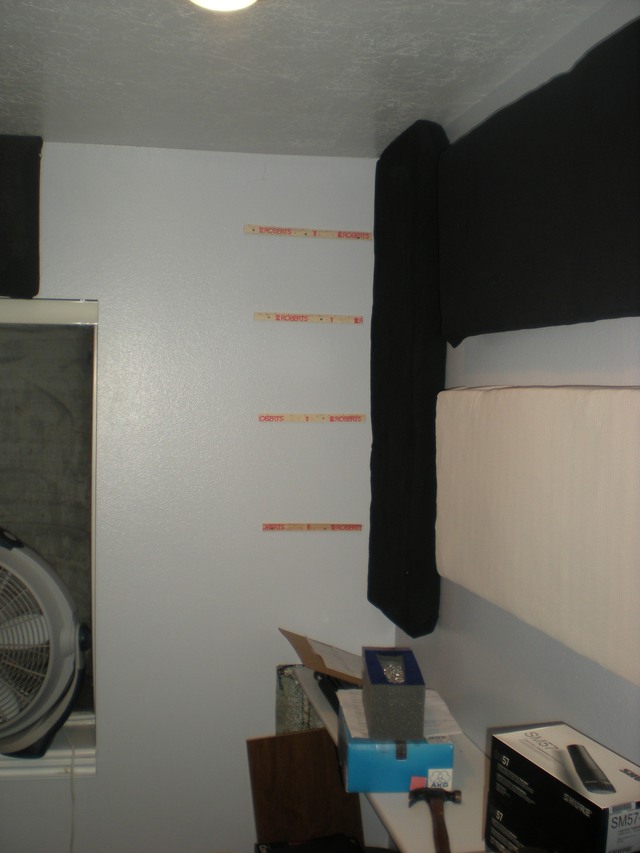
The next morning, I took the advice from a very helpful forum which calls itself HomeRecording.com, and got me some carpet tack strips on which to hang the bats.
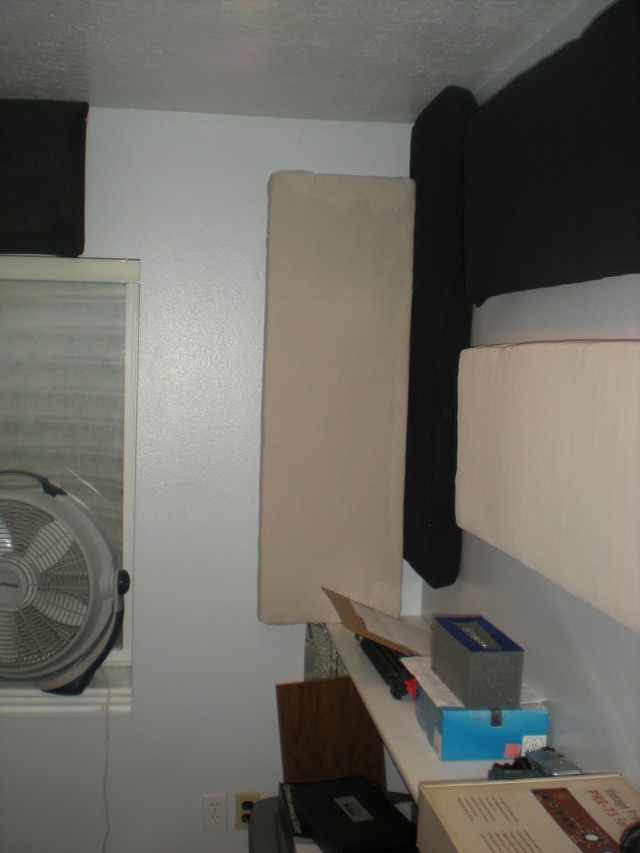
After deciding the pattern to use, putting the bats on the walls, (which was probably the hardest part of this whole ordeal), I started tacking them up. Unfortunately, the gray material I chose didn't cooperate very well with being tacked up on walls, so I had to use some thumbtacks to coerce them to stay put. The black material, on the other hand, was seemingly made to hang. Snug as a bat on a wall.
...and there you have it. After deciding against spending $1,200.00 on Auralex, the grand sum total for the tack strips, the glue, the fabric, and the insulation came to $146.00. Sure, it took a bit to get it done, but I learned a lot, and now have a room which sounds much, much better.
Photos below documenting the whole process...
Oh, and one more thing... I took the liberty of setting up, and mic'ing my drums before I took on this project. I recorded the room as it was (with foam), then taking down the foam, and recording the same beat again, and then putting up the bats, and recording the drums again. All recordings were done without touching a single microphone, or preamp level, and the exact same beat was played (the best I could). You tell me if the new treatments were worth it.
Hear the different recordings here. (3 recordings on the audio file : 1st is the room bare with no treatment at all, 2nd is the foam treatment, and 3rd is the treatment with the insulation bats)
Cheers to saving money while getting the same results!


So far, so good... I'm already wondering what the next project will be.
The early success of the studio has enabled me to get a few great microphones, guitars, amps, preamps, good drum heads, an amazing digital audio workstation and few other odds 'n' ends. As soon as I had the basics of good equipment, I took a look at my existing room acoustics, and, though my thin foam tacked on to the walls was definitely doing a much better job than expected, I knew I needed to get my studio sounding better.
The more research I did into studio acoustics, the darker the picture became. I looked at all sorts of acoustic treatment, and to be frank, I couldn't understand why in the world it was so expensive! It didn't seem to be all that complicated to fabricate the product, nor is the material used terribly expensive. It just didn't make sense.
So, as usual, I started to do some research. After a long battle between myself and the information I was receiving, I decided that $1,200.00 was a bit too much to be spending on room acoustics. I mean, wow... Think of the audio equipment that could be bought for that price! Sooo... I started reading how-to tutorials online, and found there was a few good places with good information, and I started taking notes.
Within a few weeks, I had what I needed, and last weekend, I took the plunge, bought the materials, and by Monday morning, I had a completely new sound in my studio, ready for the evening's session.
The material I chose to use is a product called “Roxul Safe 'n' Sound” This product came in bags full of 12 3-inch deep, 4”x6” bats. My studio is 13' x 15' x 8' (8 feet high), and so I bought two of these bags, thus giving me 24 bats to work with. Working with these bats, they look like a very dense variant of normal fiberglass insulation, but this stuff isn't nasty. You can breathe it, and even roll around in it, should you choose to do so, and it won't cut, or do anything else damaging. It does come apart, should you pull on it, so ya gotta be careful not to let that happen, but that's about it. The stuff traps sound like crazy, too. If sound absorption is what you need, read on, because these things are amazingly absorbent.
Oh, and did I mention that I got the 24 bats (which will cover 120 sq-ft) for $106.00? Yeah, true story... I have the receipts to prove it.
So... I had bags full of the material, now what to do with them? Well, I decided to visit my local Walmart, and see what type of fabrics they had. I couldn't wait for the incredible deals I've read about on fabric, so I chose two colors of their cheap “5 yards for 5 bucks” bin, and got 6 rolls of grey and black fabric.
I then went home, got a pair of good scissors, and started cutting and rolling. It took me about 6 hours to get it all done, but I was listening to and watching a Jason Mraz concert, so the time flew by.
The next day, I went and bought a single can of spray-on adhesive, and went to town gluing the fabric to the already rolled-up bats. I then stored them in my basement storage rooms to dry for the night.
The next morning, I took the advice from a very helpful forum which calls itself HomeRecording.com, and got me some carpet tack strips on which to hang the bats.
After deciding the pattern to use, putting the bats on the walls, (which was probably the hardest part of this whole ordeal), I started tacking them up. Unfortunately, the gray material I chose didn't cooperate very well with being tacked up on walls, so I had to use some thumbtacks to coerce them to stay put. The black material, on the other hand, was seemingly made to hang. Snug as a bat on a wall.
...and there you have it. After deciding against spending $1,200.00 on Auralex, the grand sum total for the tack strips, the glue, the fabric, and the insulation came to $146.00. Sure, it took a bit to get it done, but I learned a lot, and now have a room which sounds much, much better.
Photos below documenting the whole process...
Oh, and one more thing... I took the liberty of setting up, and mic'ing my drums before I took on this project. I recorded the room as it was (with foam), then taking down the foam, and recording the same beat again, and then putting up the bats, and recording the drums again. All recordings were done without touching a single microphone, or preamp level, and the exact same beat was played (the best I could). You tell me if the new treatments were worth it.
Hear the different recordings here. (3 recordings on the audio file : 1st is the room bare with no treatment at all, 2nd is the foam treatment, and 3rd is the treatment with the insulation bats)
Cheers to saving money while getting the same results!
So far, so good... I'm already wondering what the next project will be.
Comment by mom on Aug. 17, 2010 @ 11:15 pm
Sounds like quite the project--but it worked & so it was all worth it, right? Isn't it amazing how much money we can save by doing things ourselves....what a difference in prices! Way to go, Jas!! I'm thrilled for you!!